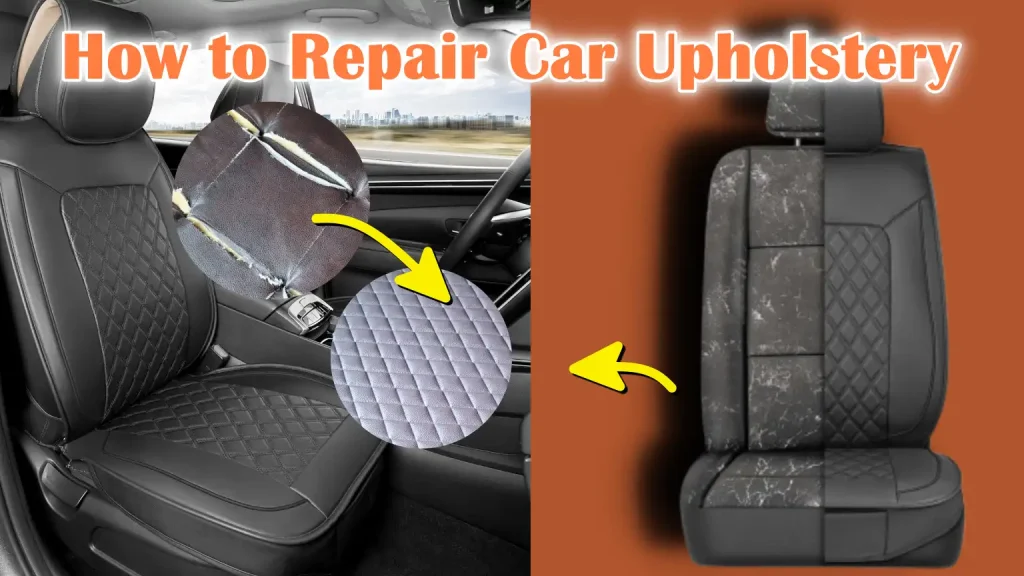
Is your car seat looking worn out, torn, or stained? You don’t have to spend a fortune replacing the entire upholstery.
Imagine restoring your seat to its original comfort and style with simple repairs you can do yourself. In this guide, you’ll discover easy, step-by-step tips to fix your auto seat upholstery quickly and effectively. Whether it’s a small rip or a stubborn stain, you’ll learn how to bring new life to your car’s interior.
Keep reading, and take the first step toward making your car look and feel like new again!

Credit: www.reddit.com
Tools And Materials Needed
Repairing auto seat upholstery requires the right tools and materials. These help you fix tears and wear properly.
Using quality tools makes the job easier and the results last longer. Choose materials that match your car’s interior.
Essential Repair Tools
Gather these basic tools before starting your upholstery repair project. They help you remove and install fabric cleanly.
- Staple gun with staples
- Scissors or fabric shears
- Flat-head screwdriver
- Seam ripper
- Needle and strong thread
- Measuring tape
- Spray adhesive
- Rubber gloves
Choosing The Right Upholstery Material
Pick a fabric that fits your car’s style and use. The material should be durable and easy to clean.
| Material Type | Best For | Durability |
|---|---|---|
| Vinyl | Water resistance, easy cleaning | High |
| Leather | Luxury feel, comfort | Medium |
| Cloth | Breathability, variety of colors | Low to Medium |
| Alcantara | Soft texture, sporty look | Medium |
Credit: www.youtube.com
Preparing The Seat
Fixing auto seat upholstery starts with good preparation. You need to get the seat ready to work on it safely and well.
Preparing the seat helps you find any hidden damage. It also makes the repair process easier and cleaner.
Removing The Seat From The Vehicle
Take out the seat from the car to work on it comfortably. This step helps you see all parts of the seat clearly.
First, move the seat as far back as it will go. Look for bolts under the seat that hold it to the floor.
- Disconnect the car battery to avoid airbag issues
- Use a wrench to remove bolts at the seat base
- Lift the seat carefully out of the vehicle
- Keep bolts and screws safe for reinstallation
Cleaning And Inspecting The Upholstery
Clean the seat cover to see any tears or stains clearly. Use a mild cleaner that fits the seat material.
After cleaning, check for holes, loose stitches, or worn spots. Mark these areas to focus your repair work.
- Vacuum dirt and dust before cleaning
- Use soft cloths and gentle cleaners
- Look under the seat cover for hidden damage
- Note any broken foam or frame issues
Fixing Small Tears And Holes
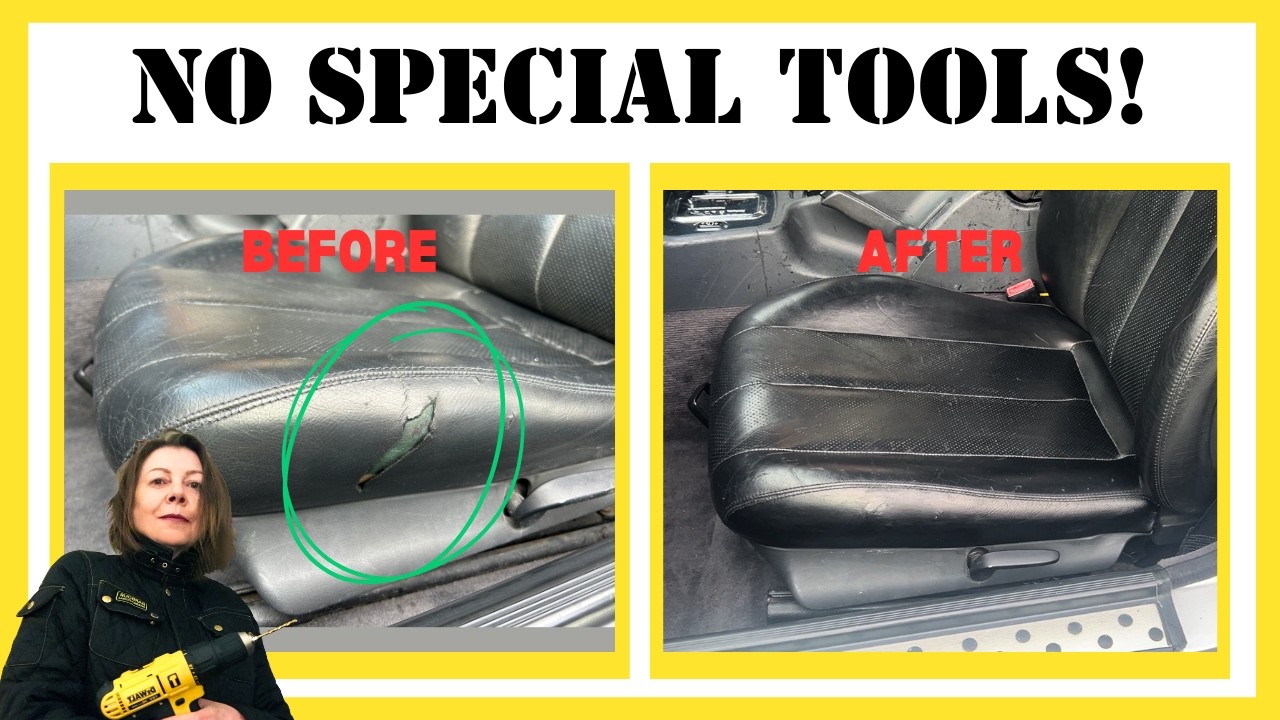
Small tears and holes in auto seat upholstery can be fixed easily at home. Fixing these issues early prevents bigger damage.
You can repair upholstery using fabric glue, patches, or sewing. Each way works well for minor damage.
Using Fabric Glue And Patches
Fabric glue works well to stick small tears back together. It dries clear and holds the fabric firmly.
Patches can cover holes and strengthen the area. Use patches that match your seat fabric for a neat look.
- Clean the damaged area before applying glue or patches.
- Apply fabric glue carefully to the tear edges.
- Press the fabric together and hold until the glue sets.
- Cut a patch slightly larger than the hole.
- Attach the patch inside the seat cover with glue.
- Let everything dry for several hours before use.
Sewing Techniques For Minor Damage
Sewing is a strong way to fix small tears or holes. Use a needle and thread that matches the fabric color.
Simple stitches hold the fabric together and stop the tear from growing. Take your time and sew carefully.
- Thread a sharp needle with strong upholstery thread.
- Start sewing a little before the tear begins.
- Use small, tight stitches to close the tear.
- Tie off the thread securely at the end.
- Trim any excess thread to keep the repair neat.
- Check your work to make sure the fabric is secure.
Repairing Large Rips And Tears
Fixing large rips in auto seat upholstery needs care and the right tools. You can make your seat look good again by using the right fabric and glue.
This guide shows how to cut fabric to fit and how to use adhesives and heat tools for a strong repair.
Cutting And Fitting Replacement Fabric
First, measure the rip carefully. Add extra fabric around the rip to cover it well. Cut the replacement fabric a bit larger than the tear.
- Choose fabric that matches the seat’s color and texture.
- Use sharp scissors for clean cuts.
- Lay the fabric flat and smooth before cutting.
- Check the fit by placing the fabric over the rip.
- Trim edges if needed for a perfect fit.
Using Adhesives And Heat Tools
Use strong adhesives made for fabric to attach the patch. Heat tools help the glue bond better and make the repair last longer.
| Tool | Purpose | Tip |
| Fabric Glue | Bonds fabric to seat | Apply thin layer |
| Heat Gun | Activates adhesive | Use low heat to avoid damage |
| Clamps or Weights | Hold fabric in place | Keep steady until dry |
Restoring Foam And Padding
Fixing auto seat upholstery includes restoring the foam and padding. This step brings back comfort and support to your car seats.
Proper foam repair extends the life of your seats and improves your driving experience.
Assessing Cushion Damage
First, check the cushion for any damage. Look for flat spots, tears, or hard areas. Press the foam to see if it springs back.
- Check for foam that feels firm or crumbly
- Look under the fabric for hidden damage
- Note any uneven areas that affect comfort
- Identify if padding has shifted or compressed
Replacing Or Adding Foam Layers
Replace old foam or add new layers to restore cushion shape and softness. Use foam sheets designed for automotive seats.
| Material | Use | Thickness |
| High-density foam | Main cushion support | 1–2 inches |
| Memory foam | Comfort layer | 0.5–1 inch |
| Polyester batting | Smooth fabric surface | 0.25–0.5 inch |
Cut foam pieces to fit the seat shape. Glue layers together and secure them inside the upholstery before closing.
Reassembling And Finishing Touches
Repairing car seat upholstery is an important task. Once the repairs are done, putting everything back together is key. This ensures the seat looks good and functions well.
Finishing touches make sure the repair lasts a long time. They also help the seat look like new again.
Reinstalling The Seat
Reinstalling the seat is an important step. First, align the seat back with the car frame. Make sure all screws and bolts are tight.
Check that the seat moves smoothly. Adjust the seat to your preferred position. Ensure all safety features are working.
- Align seat with car frame
- Tighten screws and bolts
- Check seat movement
- Test safety features
Maintaining Upholstery For Longevity
Proper maintenance keeps upholstery looking new. Clean the seats regularly. Use a vacuum to remove dust and dirt.
Use a fabric cleaner for stains. Avoid harsh chemicals. Protect the seats from direct sunlight to prevent fading.
- Regularly vacuum seats
- Use fabric cleaner for stains
- Avoid harsh chemicals
- Protect from sunlight

Credit: www.reddit.com
Frequently Asked Questions
How Do I Fix Small Tears In Auto Seat Upholstery?
To fix small tears, clean the area first. Use a fabric or leather repair kit. Apply adhesive and patch material as instructed. Let it dry completely before using the seat.
What Materials Are Needed For Seat Upholstery Repair?
You need fabric or leather repair kits, scissors, adhesive, a clean cloth, and a patch. Optionally, use a seam ripper for removing damaged stitching.
Can I Repair Auto Seats Without Removing Them?
Yes, minor repairs can be done without removal. Clean the seat, apply the repair kit carefully, and let it dry. For large repairs, removal is recommended.
How Long Does Auto Seat Upholstery Repair Take?
Small repairs take about 30 to 60 minutes. Larger repairs or full reupholstery can take several hours to a day.
Conclusion
Repairing your auto seat upholstery saves money and time. Small tears and stains do not need full replacement. Using simple tools and steps makes the job easier. Regular care keeps seats looking fresh and new longer. Try fixing minor damage before it worsens.
Your car will feel more comfortable and neat. This guide helps you take control of your car’s look. Keep practicing, and repairs will become quicker and better. Enjoy a clean, well-maintained interior every day.