
Your car seats take a beating every day. From spills and tears to worn-out cushions, these problems can make your ride uncomfortable and less attractive.
But what if you could fix your auto seats yourself? Imagine saving money and bringing back that fresh, clean look without spending hours or hiring expensive help. In this guide, you’ll discover simple, effective ways to repair your auto seats step-by-step.
Ready to transform your car interior and enjoy every drive again? Keep reading—your seats will thank you.

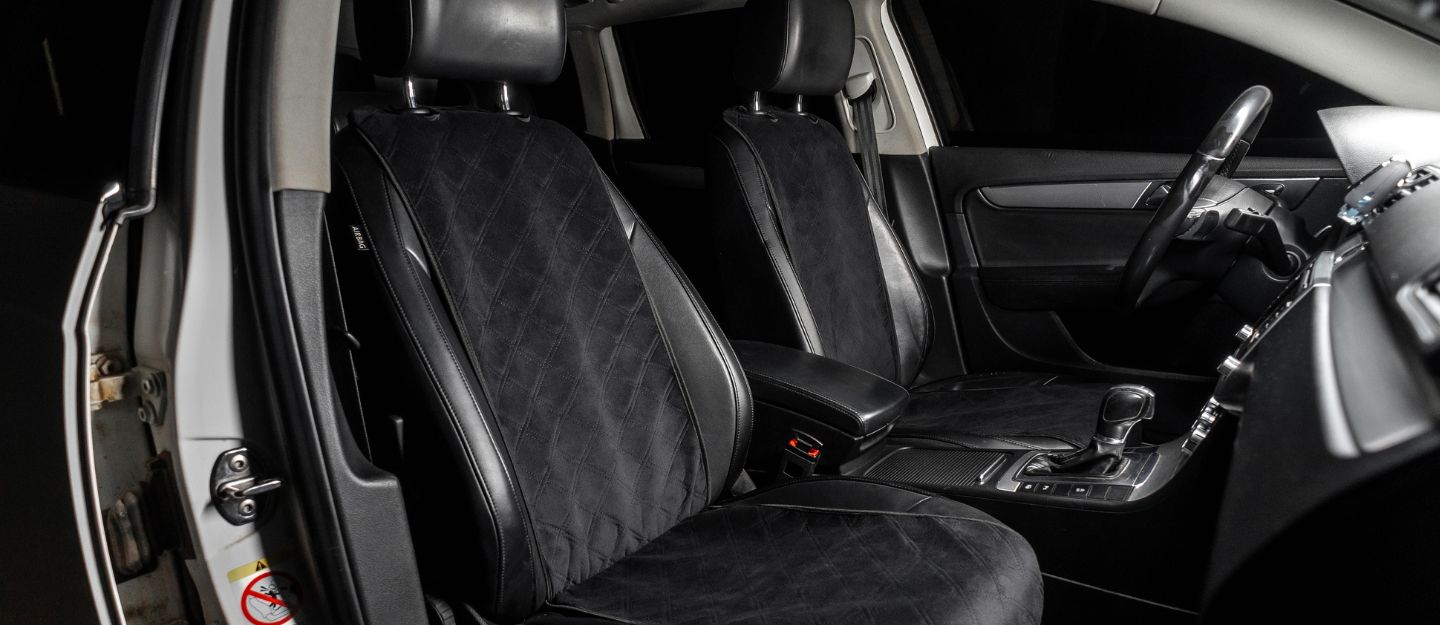
Credit: www.reddit.com
Tools And Materials Needed
Repairing auto seats requires the right tools and materials. Using proper items makes the job easier.
Knowing what you need helps you prepare and do the repair safely and well.
Essential Repair Tools
You need some basic tools to fix car seats. These tools help you remove, fix, and reassemble parts.
- Screwdrivers (flathead and Phillips)
- Pliers
- Socket wrench set
- Upholstery needle and thread
- Staple gun
- Utility knife
- Heat gun or hair dryer
- Adhesive spray
Replacement Materials
Some parts may need to be replaced during the repair. Use good quality materials for durability.
- New seat covers or upholstery fabric
- Foam padding
- Thread matching the seat color
- Plastic clips or fasteners
- Adhesive glue for foam and fabric
Safety Equipment
Wear safety gear to protect yourself during the repair. Some tools and materials can be risky.
- Work gloves to protect your hands
- Safety glasses to shield your eyes
- Dust mask if sanding or cutting foam
- Long sleeves to avoid scratches
Identifying Common Seat Issues
Auto seats can wear out or get damaged over time. Knowing what to look for helps in fixing them properly.
This guide covers three common seat problems you may find in your car.
Torn Upholstery
Torn upholstery is a frequent issue in auto seats. It happens when the fabric or leather rips or wears thin.
- Check for holes, cuts, or frayed edges on the seat cover.
- Look for discoloration that may indicate fabric damage.
- Inspect seams for splitting or loose threads.
Broken Seat Frame
The seat frame supports the entire seat structure. A broken frame can cause discomfort and safety risks.
| Symptom | Possible Cause | Effect |
| Seat feels unstable | Cracked metal or plastic parts | Seat wobbles or shifts |
| Strange noises | Loose or broken joints | Squeaking or rattling sounds |
| Seat leans incorrectly | Damaged support bars | Poor posture and discomfort |
Worn-out Padding
Padding gives seats comfort and shape. Old padding loses firmness and support.
Signs of worn-out padding:
- Seat feels flat or hard
- Uncomfortable pressure points
- Visible lumps or uneven areas
Preparing The Seat For Repair
Before fixing your car seat, prepare it carefully. Good preparation helps make the repair easier and better.
This guide covers removing the seat, cleaning it well, and checking for damage.
Removing The Seat
Start by safely removing the seat from your car. This lets you work on it more easily.
- Slide the seat all the way back to access bolts.
- Use the right tools to remove bolts under the seat.
- Disconnect any wiring for seat heaters or airbags.
- Lift the seat out carefully without damaging the car interior.
Cleaning The Surface
Clean the seat surface to remove dirt and oils. This helps repair materials stick well.
| Cleaning Step | Material Needed | Purpose |
| Remove loose dirt | Vacuum cleaner | Clear debris |
| Wipe surface | Microfiber cloth, mild soap | Remove stains and oils |
| Dry seat | Clean towel | Prepare for repair |
Assessing Damage
Look closely at the seat to find all damage spots. This helps plan your repair work.
- Check for tears or holes in fabric or leather.
- Look for worn or cracked foam padding.
- Note broken or loose seat components.
- Take photos to track all damage.
Fixing Upholstery Tears
Auto seat upholstery can wear out or tear over time. Fixing these tears helps keep your car looking nice.
You can repair tears by patching, replacing fabric, or using adhesives and stitching. Each way works for different tear sizes.
Patching Small Tears
Small tears in upholstery can be fixed with patches. Patches cover the hole and stop it from getting bigger.
Use a fabric patch that matches your seat material. Cut the patch slightly larger than the tear for full coverage.
- Clean the area around the tear well
- Apply fabric glue or adhesive to the patch
- Press the patch firmly onto the tear
- Let it dry for several hours
Replacing Fabric Panels
Large tears or worn areas may need fabric panel replacement. This means removing the damaged part and adding new fabric.
First, remove the seat cover carefully. Cut the old fabric panel out, then cut a new piece to match the shape and size.
- Use strong thread and a sewing machine if possible
- Sew the new panel into place
- Reattach the seat cover to the seat frame
- Check that the fabric fits tight and smooth
Using Adhesives And Stitching
For some tears, combining adhesives and stitching gives the best results. Glue holds the fabric, while stitches add strength.
Start by applying fabric glue to the torn edges. Press the edges together and let the glue dry. Then sew along the tear for extra support.
- Use a strong needle and thread made for upholstery
- Make small, tight stitches to hold the fabric well
- Trim any loose threads after sewing
- Allow glue and thread to set before using the seat
Repairing Seat Frames
Auto seat frames provide the main support for the seat. Fixing these frames helps keep the seat safe and comfortable. This guide explains how to repair seat frames step by step.
Seat frames can bend, crack, or break over time. Knowing how to check and fix these issues can save money and extend seat life.
Checking Frame Integrity
Start by inspecting the seat frame for any damage. Look for cracks, bends, or rust that weakens the frame. Test the seat by pressing or moving it to find loose parts.
Check all weld points and joints carefully. If the frame feels unstable, mark the problem areas for repair or replacement.
- Look for visible cracks or breaks
- Press seat to find weak spots
- Check for rust or corrosion
- Inspect all welds and joints
- Mark damaged areas
Welding And Reinforcing
Use welding to fix cracks or broken parts on the frame. Clean the area before welding to remove rust and dirt. This helps create a strong bond.
Add metal reinforcements to weak parts of the frame. Reinforcing helps prevent future damage and keeps the seat sturdy.
- Clean damaged frame areas
- Use proper welding tools
- Apply welds to cracks and breaks
- Attach metal plates for extra strength
- Let welds cool before testing
Replacing Broken Parts
Sometimes, parts of the seat frame are too damaged to fix. Remove broken parts carefully from the frame. Use matching parts to replace them.
Make sure new parts fit well and secure them tightly. Test the seat frame after replacement to ensure it feels solid and safe.
- Remove damaged frame sections
- Find replacement parts that fit
- Attach new parts securely
- Check frame stability after repair
Credit: www.dubizzle.com
Restoring Seat Padding
Car seats can wear out over time. Restoring seat padding is essential for comfort. You can do it yourself with a few tools and materials.
Follow these steps to repair the padding in your car seats. It’s a simple process that can make a big difference.
Removing Old Foam
First, take off the seat cover to reach the foam. Carefully remove the old foam. It may be glued or stapled, so go slowly to avoid damage.
- Use a flathead screwdriver to pry off old staples
- Wear gloves to protect your hands from sharp edges
- Dispose of old foam responsibly
Cutting And Shaping New Foam
Measure the area that needs new padding. Cut the foam to fit the seat shape. Use a sharp knife or electric carving tool for clean cuts.
Tip: Use a marker to outline the shape on the foam before cutting.
Installing Padding Properly
Place the new foam on the seat. Ensure it fits snugly. Attach it using glue or staples, depending on the seat design.
| Tool | Purpose |
| Glue | Adhere foam to seat base |
| Staple Gun | Secure foam edges |
Reassembling And Testing
After fixing your auto seats, reassembly is key. This step puts everything back together safely.
Testing ensures the seat works well and is comfortable to use. Follow each step carefully.
Reattaching The Seat
Begin by placing the seat in its original position. Align all bolts and screws correctly.
- Use the proper tools for tightening bolts.
- Reconnect all wiring harnesses for seat controls and airbags.
- Double-check that the seat frame is secure.
- Ensure the seat slides and reclines smoothly.
Checking For Comfort And Safety
Test the seat for comfort by sitting and adjusting it fully. Check all safety features too.
| Check | What to Do | Result |
| Seat Movement | Slide and recline the seat | Should move smoothly without noise |
| Seat Belt | Fasten and release belt | Locks securely and releases easily |
| Airbag Connection | Verify wiring and indicator lights | No warning lights on dashboard |
| Cushion Comfort | Sit and feel padding | Comfortable with no lumps or gaps |
Final Touch-ups
Clean any dirt or grease from the seat and surrounding area. Check for loose parts one last time.
Use a soft cloth and mild cleaner to wipe surfaces.
Adjust headrests and armrests if needed.
Tighten any screws that feel loose after testing.
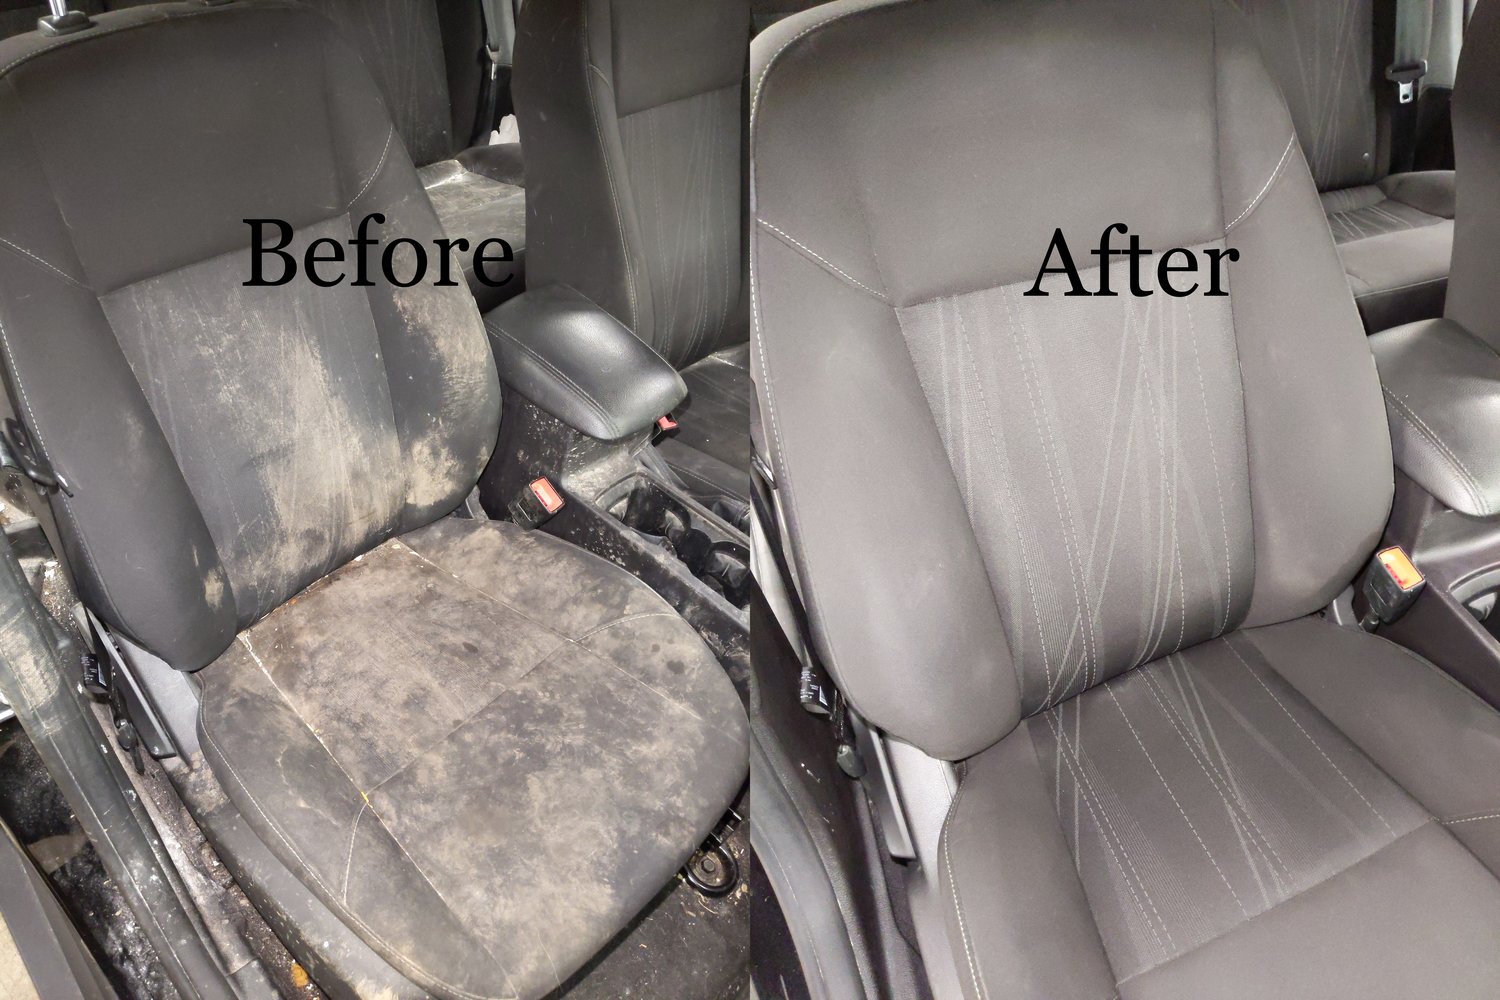
Credit: www.drivebydetail.net
Maintenance Tips To Extend Seat Life
Auto seats face wear and tear over time. Proper care keeps them looking new and lasting longer.
Follow these easy tips to maintain your car seats and extend their life.
Regular Cleaning
Regular cleaning removes dirt and prevents stains. Use gentle products for best results.
Consider these cleaning steps:
- Vacuum seats to remove loose dirt.
- Use a mild cleaner for spot treatment.
- Wipe with a damp cloth and dry thoroughly.
Protective Covers
Protective covers shield seats from spills and sun damage. Choose covers that fit well and are easy to clean.
- Pick covers made from durable materials.
- Ensure they are machine-washable.
- Replace covers if they show signs of wear.
Avoiding Damage
Prevent damage by avoiding sharp objects and direct sunlight. Park in shaded areas when possible.
| Action | Benefit |
| Use sunshades | Reduces UV damage |
| Remove heavy items | Prevents seat indentations |
| Check seat belts | Avoids unnecessary friction |
Frequently Asked Questions
How Do I Fix Tears In Auto Seat Upholstery?
To fix tears, clean the area first. Use a fabric or leather repair kit. Apply adhesive and patch carefully. Let it dry fully before use.
What Tools Are Needed For Auto Seat Repair?
Common tools include scissors, upholstery glue, needle, thread, and a repair kit. A screwdriver may be needed to remove seats.
Can I Repair Foam Inside Auto Seats Myself?
Yes, you can. Use foam padding or replacement kits. Cut to size and insert carefully to restore comfort.
How To Clean Auto Seats Before Repair?
Vacuum seats thoroughly. Use a mild cleaner suitable for fabric or leather. Allow seats to dry completely before repairs.
Conclusion
Repairing auto seats can save money and keep your car comfortable. Small tears and stains do not need a full replacement. Use the right tools and take your time. Clean the seat before starting the repair. Follow clear steps to fix fabric or leather seats.
A little effort makes your car look better and last longer. Try simple fixes first, and you can handle most problems yourself. Enjoy a fresh, neat car seat without spending too much. Keep your car’s interior in good shape with regular care.