
Are you tired of the default caption font in CapCut not matching your style? Changing the auto caption font can make your videos look more professional and unique.
Imagine your captions standing out just the way you want, grabbing attention instantly. In this post, you’ll learn exactly how to change the auto caption font in CapCut with simple steps anyone can follow. Keep reading, and you’ll be customizing your videos like a pro in no time!
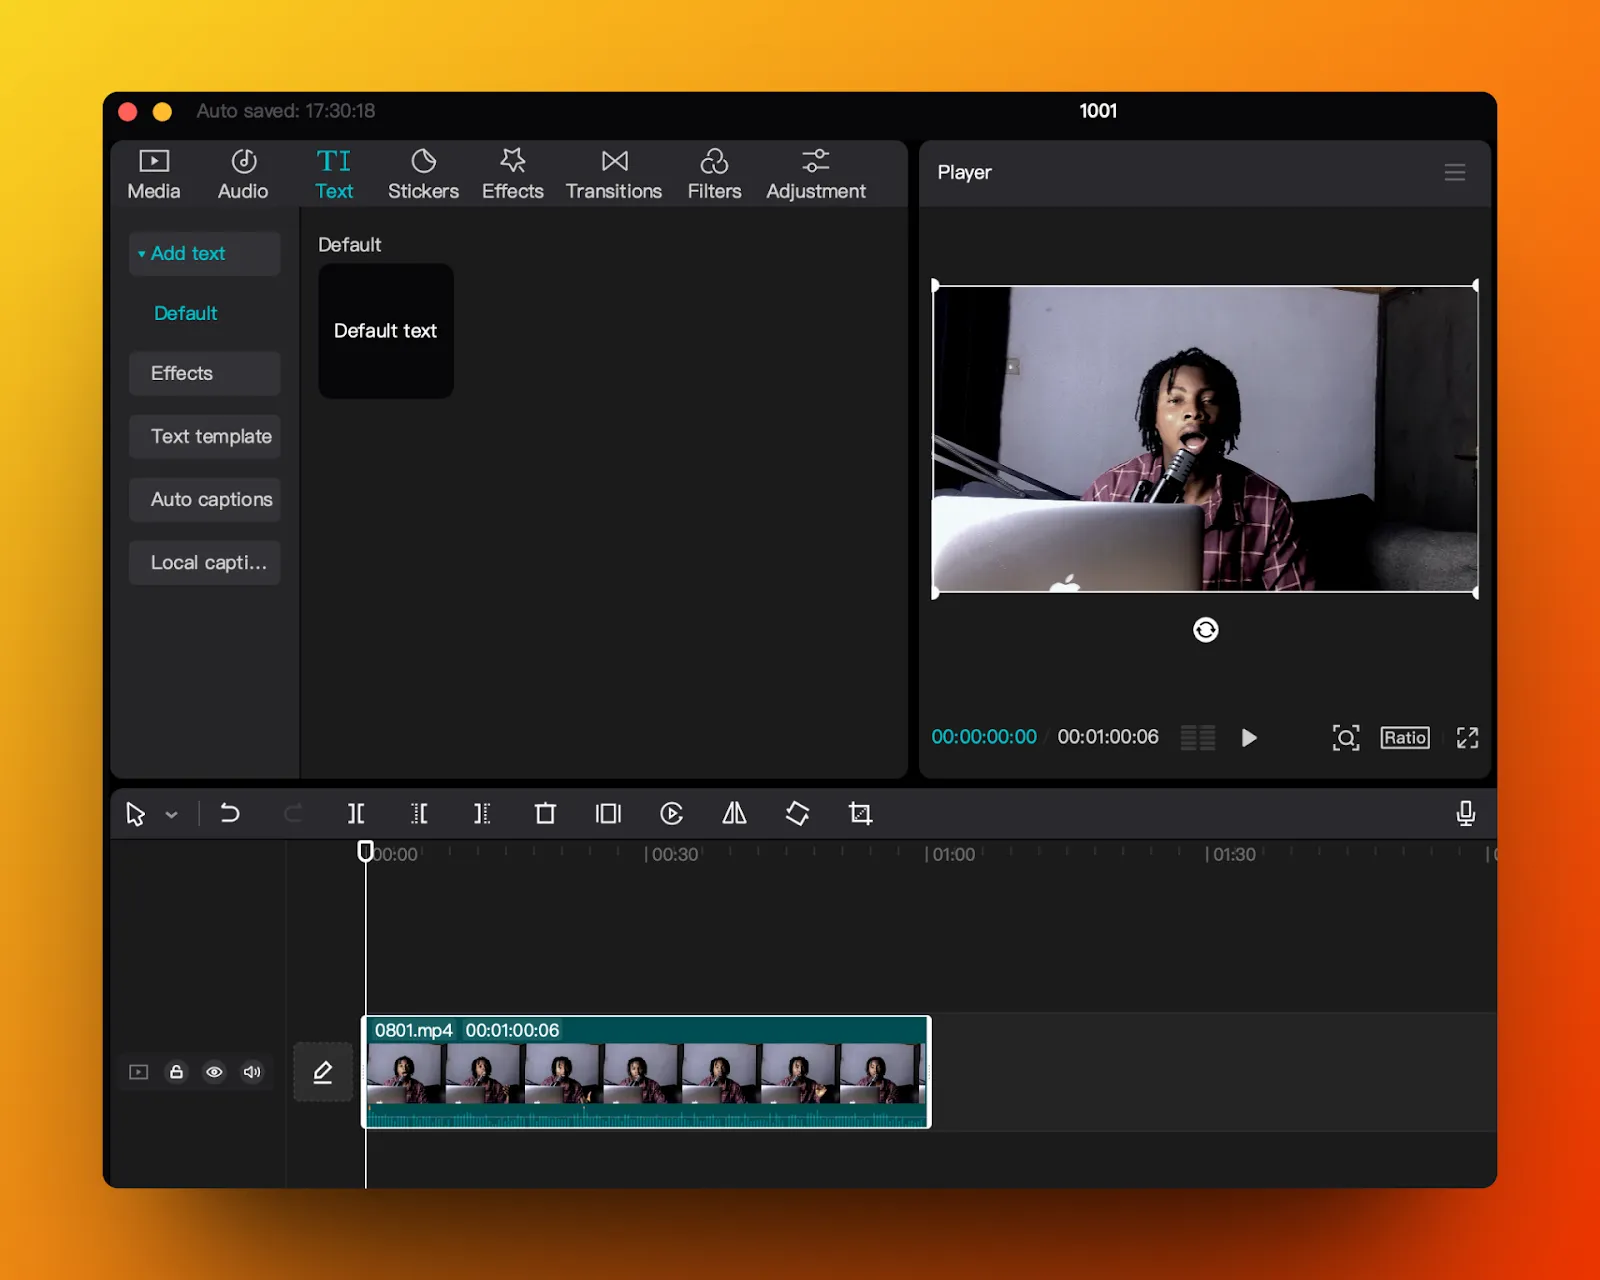
Accessing Caption Settings
Changing the font of auto captions in Capcut starts with finding the caption settings. This guide shows how to access these settings easily.
By following simple steps, you can open your project and locate the captions section to customize fonts.
Opening Capcut Project
First, launch the Capcut app on your device. Then open the project where you want to edit captions.
- Tap the Capcut icon to start the app.
- Select your existing project or create a new one.
- Wait for the project timeline to load fully.
Navigating To Captions
Once your project is open, you need to find the caption settings. This is where you can change the font style and size.
| Caption Settings Area | Description |
|---|---|
| Timeline | Tap on the caption track to select auto captions. |
| Editing Toolbar | Look for the text or font icon to open caption options. |
| Font Menu | Choose font styles and adjust size here. |
Choosing Your Font
Changing the auto caption font in Capcut helps your videos look better. Picking the right font makes captions easy to read.
Capcut offers many font styles. You can also add fonts you like from other sources.
Exploring Font Options
Capcut has a set of built-in fonts for captions. These fonts vary in style from simple to decorative.
Try different fonts to see which fits your video style best. Some fonts work well for formal videos, others for fun clips.
- Open Capcut and select your video
- Tap on the text or auto captions
- Go to the font menu to see options
- Tap a font to apply it
- Preview the video to check readability
Downloading Additional Fonts
If you want more font choices, you can download new fonts online. Some sites offer free fonts that work well with Capcut.
After downloading, you can import these fonts into Capcut to use in your captions.
- Find a trusted font website
- Download the font file (usually .ttf or .otf)
- Open Capcut and go to the font section
- Choose the option to add or import fonts
- Select your downloaded font file
- Use the new font in your captions
Applying Font Changes
Changing the font of auto captions in Capcut makes your videos clearer. You can choose a style that fits your content.
This guide shows how to apply font changes step by step. It helps you edit captions easily.
Selecting Captions To Edit
First, open your project in Capcut. Find the captions you want to change in the timeline.
Tap on a caption to select it. You can select multiple captions if you want the same font for all.
- Open your video project in Capcut.
- Scroll to the caption in the timeline.
- Tap the caption to select it.
- Hold and tap more captions to select multiple.
Changing Font Style
With captions selected, look for the font options in the editing menu. This menu usually appears at the bottom.
Choose a font style from the list. You can see how the new font looks right away.
- Tap the font dropdown or icon.
- Scroll through available fonts.
- Select the font you like.
- Preview the font on your caption.
- Save changes by tapping outside the menu.
Credit: www.submagic.co
Adjusting Font Size And Color
Changing the auto caption font in Capcut helps your text look better. You can adjust the font size and color easily. This guide shows how to do both.
Making captions clear improves video quality. Follow these simple steps to customize your captions in Capcut.
Modifying Font Size
Start by opening your project in Capcut. Select the caption you want to edit. Then, find the font size option.
- Tap on the caption text to highlight it.
- Look for the font size slider or input box.
- Drag the slider or enter a number to change size.
- Preview the caption to check readability.
- Adjust until the size fits your video style.
Customizing Font Color
Changing the font color makes captions stand out. Capcut offers several color options to choose from.
| Color Option | Best Use |
| White | Works well on dark backgrounds |
| Black | Good for light backgrounds |
| Yellow | Bright and easy to read |
| Blue | Calm look for soft scenes |
| Custom | Pick any color to match your style |
Using Advanced Text Effects
Changing the auto caption font in Capcut can make your videos look better. Using advanced text effects adds style to your captions.
You can add shadows, outlines, and animations to make text stand out. These effects help keep viewers interested.
Adding Shadows And Outlines
Shadows and outlines make your caption text easier to read. They create contrast between the text and the video background.
To add shadows or outlines, select the caption text. Look for the text style options in Capcut’s editing panel.
- Choose the shadow option and pick a color and blur level.
- Adjust the shadow distance to control how far it appears.
- Use outlines to add a border around the letters.
- Pick an outline color that stands out from your background.
- Change the thickness of the outline to make text bold or subtle.
Applying Animation To Captions
Animating captions grabs attention and adds movement to your video. It makes your text more lively and fun.
Capcut offers many animation styles for captions. You can make text fade, slide, zoom, or bounce.
- Select your caption text and open the animation tab.
- Pick an animation effect from the list.
- Adjust the speed and direction of the animation.
- Preview the animation to see how it looks on your video.
- Apply the animation and continue editing your project.

Credit: www.youtube.com
Saving And Exporting
Changing the auto caption font in Capcut can make your videos stand out. After editing, it’s important to save and export your work properly.
This ensures that your changes are applied and your video is ready to be shared. Let’s explore how to preview your changes and export the final video.
Previewing Caption Changes
Before saving, it’s good to preview the caption changes. This helps you see if the new font looks right in the video.
Check the timing and placement of captions. Make sure they are easy to read and enhance the video experience.
- Open the video preview in Capcut
- Watch the video and focus on the captions
- Adjust font size if necessary
Exporting The Final Video
Once you’re satisfied with the captions, it’s time to export the video. Exporting saves your video with all the changes applied.
Choose the right format and quality settings. This ensures the video plays well on different devices.
| Format | MP4 or MOV |
| Quality | High (1080p or 4K) |
| Frame Rate | 30fps or 60fps |
Credit: www.submagic.co
Frequently Asked Questions
How Do I Change Auto Caption Font In Capcut?
Open your project in Capcut. Tap the auto caption track. Select the font option. Choose your desired font. Save changes to apply it instantly.
Can I Customize Font Size And Color For Captions?
Yes, Capcut allows font size and color customization. After selecting the font, adjust size and color options before saving.
Is It Possible To Set A Default Caption Font?
Currently, Capcut does not support setting a default font for all captions. You must change fonts per project manually.
Which Fonts Are Available For Auto Captions In Capcut?
Capcut offers various fonts including classic, bold, italic, and handwritten styles. The font list updates with app versions.
Conclusion
Changing the auto caption font in Capcut makes your videos stand out. It helps match your style and makes captions easier to read. The process is simple and quick, even for beginners. Try different fonts to find what fits best.
Keep practicing to improve your video editing skills. Enjoy creating captions that look just right. This small change can make a big difference in your videos.