
Your car’s windshield is more than just glass—it protects you and keeps you safe on the road. When it’s cracked or damaged, you might feel unsure about what to do next.
But replacing your auto windshield doesn’t have to be complicated or expensive. In this guide, you’ll discover simple steps to replace your windshield yourself, saving time and money. Keep reading, and you’ll gain the confidence to handle this task like a pro—your car and your wallet will thank you.
Credit: windshieldsurgeons.com
Tools And Materials Needed
Replacing an auto windshield requires the right tools and materials. Using proper equipment makes the job safer and easier.
This guide covers essential tools, how to choose the correct windshield, and necessary safety gear for the task.
Essential Tools
You need specific tools to remove the old windshield and install the new one properly.
- Windshield removal tool or cold knife
- Caulking gun for urethane adhesive
- Utility knife with sharp blades
- Rubber mallet to fit the glass
- Suction cups for handling the windshield
- Cleaning supplies: glass cleaner and lint-free cloths
- Primer for glass and metal surfaces
Choosing The Right Windshield
Picking the correct windshield ensures a perfect fit and maintains vehicle safety.
| Type | Description | Notes |
|---|---|---|
| OEM (Original Equipment Manufacturer) | Made by the car maker or approved supplier | Best fit and quality |
| Aftermarket | Made by third-party manufacturers | Usually less expensive but may vary in fit |
| Used Windshield | Salvaged from another vehicle | Cost-effective but check for cracks and damage |
Safety Equipment
Protect yourself by using the right safety gear while replacing a windshield.
- Safety glasses to protect your eyes
- Work gloves to avoid cuts and scrapes
- Long sleeves and pants to shield your skin
- Dust mask if working with old adhesives or glass particles

Credit: www.reddit.com
Preparing Your Vehicle
Replacing your car’s windshield needs careful preparation. This makes the job safer and easier.
Start by setting up your workspace and protecting your vehicle. Then remove parts that block the windshield.
Cleaning The Area
Clear dirt and debris from around the windshield. This prevents damage and helps you see all parts clearly.
- Use a soft brush to remove loose dirt
- Wipe the glass edges with a clean cloth
- Apply a mild cleaner to remove grease
- Dry the area thoroughly with a microfiber towel
Protecting Interior And Exterior
Cover the inside and outside of your vehicle to avoid scratches and dirt. Use materials that do not stick or leave marks.
| Area | Protection Material | Purpose |
|---|---|---|
| Dashboard and seats | Plastic sheets or cloth covers | Prevent dust and scratches |
| Car hood and fenders | Soft blankets or towels | Protect from tools and debris |
| Floor mats | Cardboard or paper mats | Keep clean from dirt and glass shards |
Removing Wipers And Trim
Take off windshield wipers and any trim around the glass. This step clears space for the new windshield.
- Lift the wiper arms away from the glass
- Use a wrench to remove the wiper nuts
- Carefully pull off the wiper blades
- Remove trim pieces by gently prying with a plastic tool
- Keep all parts in a safe place for reinstallation
Removing The Old Windshield
Replacing a car’s windshield starts with removing the old glass. This process needs care and attention.
Proper removal helps avoid damage to the vehicle and prepares the surface for the new windshield.
Cutting Through The Adhesive
The windshield is held in place by strong adhesive. Cutting through it separates the glass from the frame.
Use a special cutting tool or wire to carefully slice through the glue around the edges of the windshield.
- Wear safety gloves to protect your hands.
- Work slowly to avoid scratching the paint.
- Make sure the cut goes all around the windshield.
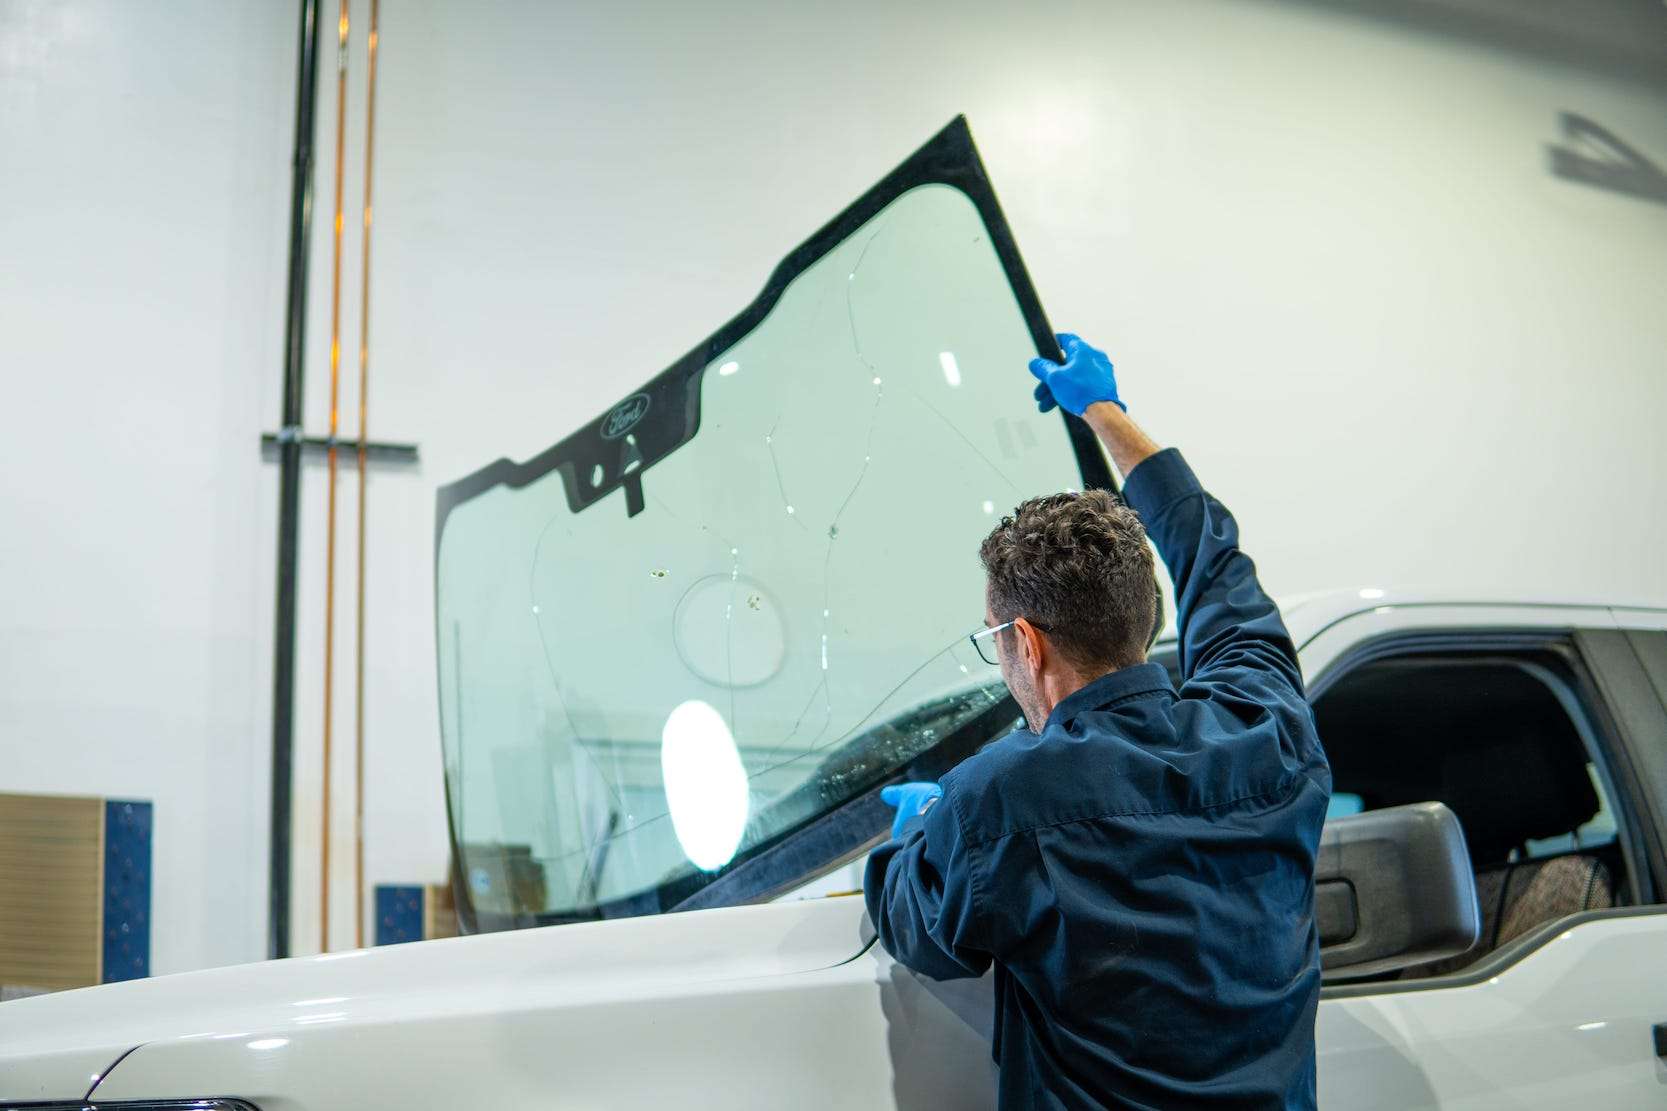
Lifting Out The Glass
Once the adhesive is cut, gently lift the windshield out of the frame. Do not rush this step.
Use suction cups or handles to hold the glass safely and avoid dropping it.
- Ask for help if the glass is too heavy.
- Lift evenly to prevent cracking.
- Place the glass on a soft surface after removal.
Handling Broken Pieces
If the windshield is cracked or broken, handle pieces with extra care. Broken glass can cause injuries.
Use thick gloves and safety glasses while removing small or sharp pieces from the frame.
- Collect broken glass in a sturdy container.
- Clean the frame completely before installing new glass.
- Dispose of broken pieces safely according to local rules.
Credit: mobilewindshieldreplacement.ca
Preparing For Installation
Replacing an auto windshield needs careful preparation. Proper setup helps avoid problems during installation.
This guide covers key steps to prepare for a smooth windshield replacement.
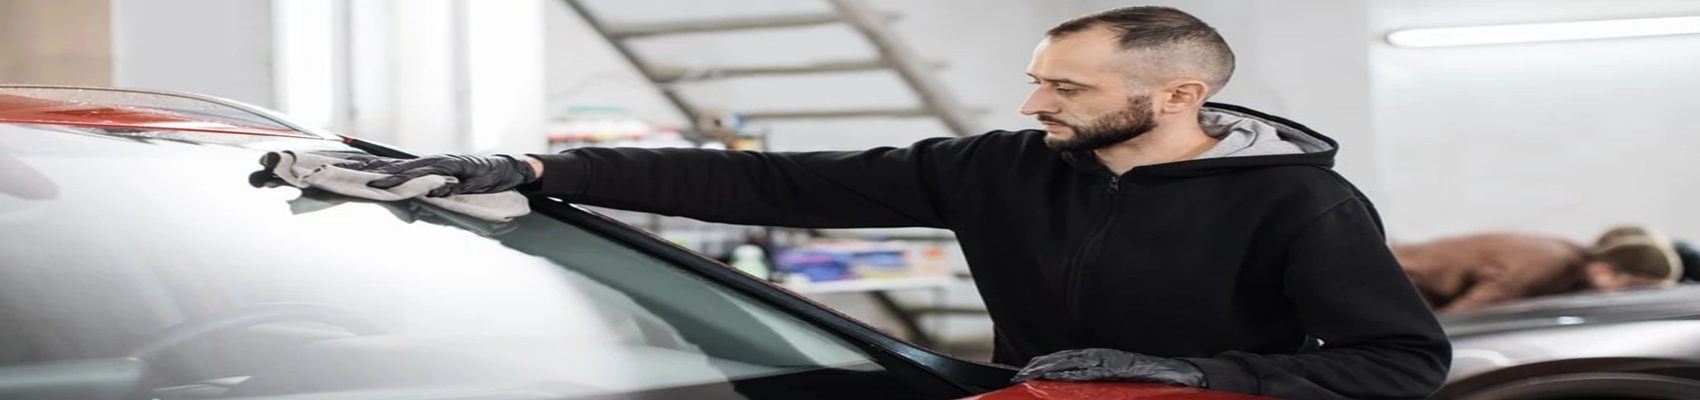
Cleaning The Pinch Weld
The pinch weld is the frame where the windshield sits. It must be clean and free of old glue.
- Remove any dirt or debris with a brush.
- Scrape off old adhesive carefully using a plastic tool.
- Wipe the area with a cleaner to remove oils and dust.
- Let the pinch weld dry completely before proceeding.
Applying Primer And Sealant
Primer helps the sealant stick to the metal. Sealant bonds the glass to the vehicle.
| Material | Purpose | Application Tips |
|---|---|---|
| Primer | Prepares metal surface | Apply thin, even coat |
| Sealant | Seals windshield to frame | Use continuous bead around edge |
Wait for the primer to dry before adding the sealant. Follow manufacturer instructions.
Setting Up The New Glass
Prepare the new windshield for installation by removing protective covers. Check for any defects.
- Handle the glass with clean gloves to avoid fingerprints.
- Test fit the windshield to ensure it fits properly.
- Clean the edges of the glass if needed.
- Place the glass near the vehicle to keep it ready.
Installing The New Windshield
Installing a new windshield requires care and attention to detail. Proper installation ensures safety and prevents leaks.
This guide covers how to position the glass, secure it, and reattach wipers and trim.
Positioning The Glass
First, clean the pinch weld area where the windshield will sit. Remove any dirt or old adhesive.
Carefully place the new windshield on the frame. Align it evenly on all sides before pressing it down.
Securing The Windshield
Use a urethane adhesive to secure the windshield. Apply a continuous bead around the pinch weld.
- Apply primer to the pinch weld and windshield edges.
- Apply the urethane adhesive evenly on the pinch weld.
- Set the windshield carefully onto the adhesive.
- Press gently along the edges to ensure contact.
- Use tape or clips to hold the glass in place while curing.
Reattaching Wipers And Trim
Once the adhesive cures, reinstall the wiper arms and any trim pieces removed earlier.
| Component | Action |
|---|---|
| Wiper Arms | Align with marks and tighten nuts securely. |
| Trim Molding | Snap or screw trim back into place around windshield edges. |
| Interior Seal | Check for proper fit and replace if damaged. |
Post-installation Tips
Replacing your auto windshield requires care even after the installation. These tips will help ensure safety and durability.
Follow these guidelines to maintain your new windshield effectively and safely.
Curing Time And Conditions
Allow the adhesive to cure properly. This ensures the windshield stays firmly in place.
- Keep the car parked for at least one hour.
- Avoid direct sunlight to prevent premature curing.
- Do not wash the car for two days.
Checking For Leaks
After installation, check if the windshield is sealed correctly. This prevents water from seeping in.
Test for leaks using a simple water spray. Gently spray water around the windshield edges. If you see water inside, contact your installer immediately.
Driving Safety After Replacement
Ensure your safety by following these driving tips right after getting a new windshield.
| Action | Recommendation |
| Driving Speed | Keep below 50 mph for the first 24 hours |
| Road Type | Avoid rough roads to reduce pressure |
| Car Doors | Close gently to maintain pressure balance |
Frequently Asked Questions
How Long Does It Take To Replace An Auto Windshield?
Replacing an auto windshield usually takes about one to two hours. The time includes removing the old glass and installing the new one. Curing time for adhesives may vary but typically requires at least an hour for proper bonding.
Can I Replace My Auto Windshield Myself?
Yes, you can replace your windshield yourself if you have the right tools and experience. However, professional replacement ensures safety, proper fit, and avoids leaks or damage. DIY replacement may void warranties or insurance coverage.
What Tools Are Needed To Replace A Windshield?
Essential tools include a windshield removal tool, adhesive, primer, gloves, and suction cups. You also need a utility knife and a caulking gun for applying sealant. Proper tools ensure a safe and clean installation.
How Much Does Windshield Replacement Cost On Average?
Windshield replacement costs range from $100 to $400, depending on car make and model. Additional features like rain sensors or heating elements can increase the price. Insurance may cover part or all of the cost.
Conclusion
Replacing a windshield can save time and money. Follow each step carefully for safety. Use the right tools to avoid damage. Take your time and work in a clean space. Check for leaks after installation to stay safe. This guide helps you handle the task with ease.
Practice makes the process simpler and faster. Stay patient and focus on each detail. Your car will look better and stay protected.