
Want to make your motorcycle feel more comfortable and boost your control on the road? Installing new grips is one of the easiest upgrades you can do yourself.
But if you’ve never done it before, the process might seem tricky. Don’t worry—this guide will walk you through every step, so you can get it done quickly and correctly. By the end, you’ll have grips that fit perfectly and feel great every time you ride.
Let’s get started and make your ride better!
Tools And Materials Needed
Installing grips on a motorcycle is a simple task that improves comfort and control. You need the right tools and materials to do the job correctly.
This guide covers the types of grips, essential tools, and optional supplies for a smooth installation.
Types Of Motorcycle Grips
Motorcycle grips come in different styles and materials. Choose grips that fit your bike and riding style.
- Rubber grips: Offer good comfort and grip
- Foam grips: Provide extra cushioning
- Gel grips: Reduce vibration for long rides
- Leather grips: Look stylish and feel firm
- Heated grips: Keep hands warm in cold weather
Essential Tools
You need a few basic tools to remove old grips and install new ones safely.
- Screwdriver: To remove any screws or clamps
- Utility knife: To cut off old grips carefully
- Rubbing alcohol or grip cleaner: To clean handlebar surface
- Compressed air or grip glue: To help slide grips on securely
- Rubber mallet or soft hammer: To tap grips into place
Optional Supplies
These extra items make the job easier or improve the grip’s hold over time.
- Grip adhesive or glue: For a stronger bond
- Hair dryer or heat gun: To soften grips for easier installation
- Compressed air canister: To slide grips on with air pressure
- Cleaning rags: To wipe off excess glue or dirt
- Gloves: To protect your hands during installation

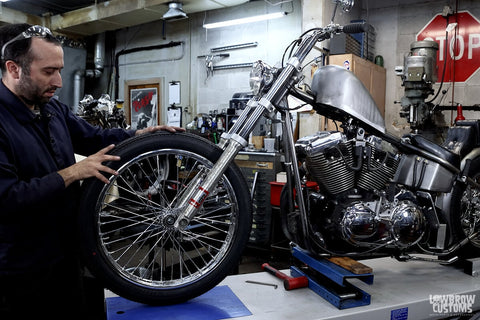
Credit: www.lowbrowcustoms.com
Preparing The Motorcycle
Before installing new grips on your motorcycle, you need to prepare the handlebar. Proper preparation helps the grips fit securely and last longer.
This guide explains how to get your motorcycle ready by removing old grips, cleaning the handlebar, and checking for any damage.
Removing Old Grips
Start by removing the old grips carefully. This makes space for the new grips and prevents damage to the handlebar.
You can use a flat tool or compressed air to help slide the grips off. Avoid pulling too hard to stop tearing the grips.
- Use a flat screwdriver or knife to lift the grip edge
- Spray a little soapy water or rubbing alcohol under the grip
- Twist and pull the grip off slowly
- Use compressed air if available for easier removal
Cleaning The Handlebar
Clean the handlebar thoroughly after removing the grips. Dirt or residue can stop new grips from sticking well.
Use a clean cloth with rubbing alcohol or soapy water. Remove all old glue and dirt for a smooth surface.
- Wipe the handlebar with a cloth soaked in rubbing alcohol
- Scrape off any leftover glue gently
- Dry the handlebar completely before installing new grips
Checking For Damage
Inspect the handlebar for cracks, rust, or bends. Damage can make grips unsafe or cause them to slip.
If you find any damage, fix it or replace the handlebar before putting on new grips. Safety is very important.
- Look for cracks or dents on the handlebar surface
- Check for rust spots or worn areas
- Ensure the handlebar is straight and not bent
- Repair or replace damaged parts if needed
Choosing The Right Grip
Choosing the right grip is important for comfort and control on your motorcycle. The right grip helps reduce hand fatigue and improves your riding experience.
Consider the material, size, and how comfortable the grip feels before installing it. These factors affect your safety and control.
Material Options
Motorcycle grips come in different materials like rubber, foam, and silicone. Each material offers different benefits for riders.
Rubber grips provide good durability and grip in wet conditions. Foam grips are soft and absorb vibration well. Silicone grips offer a mix of comfort and grip.
- Rubber: Durable, good for wet weather
- Foam: Soft, reduces vibration
- Silicone: Comfortable, good grip
Size And Fit
Grip size affects how well you control the motorcycle. Choose a size that fits your hand comfortably without being too tight or loose.
Measure your current grips or test new ones to find the best fit. Proper fit helps prevent hand cramps and improves handling.
- Small grips suit riders with small hands
- Larger grips work for bigger hands
- Check diameter and length before buying
Comfort And Control
Comfort helps you ride longer without pain. Control ensures you can safely manage your motorcycle’s movements.
Look for grips with textured surfaces or special designs that improve hold. Soft materials reduce vibration that can tire your hands.
- Textured grips prevent slipping
- Soft materials reduce hand fatigue
- Firm grips improve handling
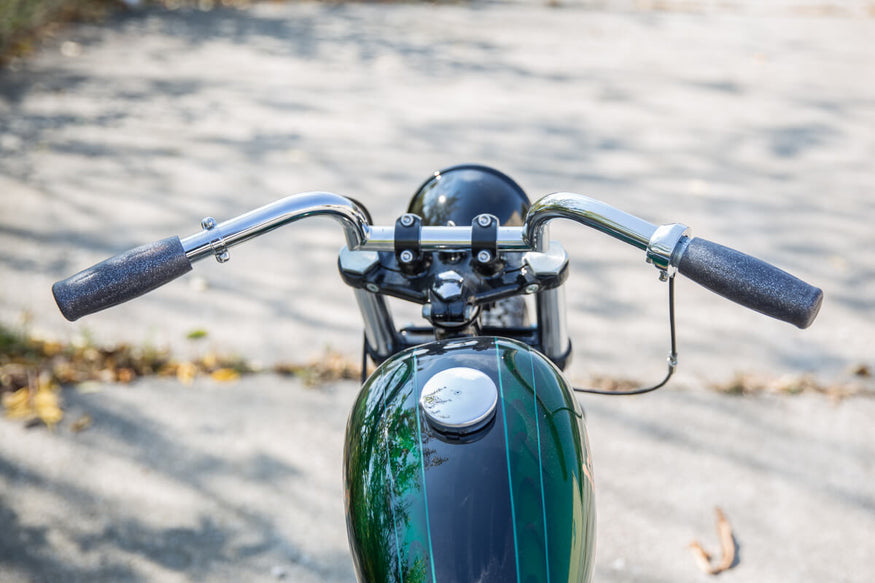
Credit: www.lowbrowcustoms.com
Installing The New Grips
Installing new grips on a motorcycle improves control and comfort. It takes some care to fit them right.
This guide shows how to install grips step by step. Follow each part carefully for the best result.
Applying Adhesive Or Grip Glue
Use adhesive or grip glue to keep the grips from slipping. Choose a glue made for rubber grips.
Apply a thin, even layer inside the grip or on the handlebar. Avoid using too much glue to prevent mess.
- Wear gloves to protect your hands.
- Apply glue quickly before it dries.
- Do not let glue touch the outside of the grip.
Sliding The Grip Onto The Handlebar
Slide the grip onto the handlebar while the glue is still wet. Push it firmly to avoid air pockets.
If the grip is tight, twist it gently as you push it on. This helps the grip slide smoothly.
- Keep the grip aligned with the handlebar.
- Do not force the grip too hard.
- Use a small amount of rubbing alcohol if needed to ease sliding.
Positioning And Adjusting
Adjust the grip position quickly before the glue sets. Make sure it is comfortable and straight.
Check the grip angle and distance from controls. The grip should not interfere with your hands or bike parts.
- Align the grip with the throttle side if needed.
- Keep enough space for your fingers to move freely.
- Hold the grip in place until the glue cures.
Final Checks And Maintenance
Installing grips on your motorcycle is just the start. You must check and maintain them to keep riding safely.
Final checks help you find problems early. Proper care makes grips last longer and feel better.
Securing The Grips
Make sure grips are tight and do not slide. Use grip glue or adhesive if needed for a firm hold.
- Apply glue inside the grip before sliding it on
- Push the grip fully onto the handlebar
- Hold the grip in place until the glue sets
- Check both ends to confirm the grip is secure
Testing Grip Stability
Test the grips by twisting and pulling them gently. They should not move or twist on the handlebar.
| Test Action | Expected Result |
| Twist grip left and right | No slipping or spinning |
| Pull grip away from handlebar | Grip stays firmly in place |
| Ride motorcycle carefully | Grips feel stable during use |
Tips For Longevity
Keep grips clean and dry to extend their life. Avoid harsh chemicals that may break down the rubber.
- Clean grips with mild soap and water regularly
- Dry grips fully after washing or riding in rain
- Inspect grips for wear and replace when needed
- Store motorcycle indoors to protect grips from sun damage
Credit: www.lowbrowcustoms.com
Frequently Asked Questions
How Do You Remove Old Grips From A Motorcycle?
To remove old grips, use compressed air or rubbing alcohol to loosen the adhesive. Twist and pull the grip gently off the handlebar. Avoid damaging the bar or throttle tube during removal.
What Tools Are Needed To Install Motorcycle Grips?
You typically need rubbing alcohol, a utility knife, compressed air, and possibly grip glue. These tools help remove old grips and securely install new ones.
Can I Install Grips Without Adhesive Or Glue?
Yes, some grips fit tightly without glue, relying on friction. However, using glue or adhesive ensures a secure and long-lasting fit, especially for slippery or loose grips.
How Long Does It Take To Install New Motorcycle Grips?
Installing grips usually takes 10 to 20 minutes. Proper cleaning and drying of the handlebar before installation can speed up the process.
Conclusion
Installing grips on your motorcycle can improve comfort and control. Follow each step carefully for the best fit. Take your time and use the right tools. Clean the handlebars well before starting the job. New grips can make your ride safer and more enjoyable.
Practice makes perfect, so don’t rush the process. Now, you are ready to enjoy a smoother ride with better grip. Simple changes like this can make a big difference. Keep your bike ready and enjoy the open road.