
Are you ready to light up your camper on the road but not sure how to connect the lights to your truck? Getting your camper lights hooked up correctly is easier than you might think—and it’s essential for safety and convenience.
Whether you want bright tail lights, brake lights, or turn signals working perfectly, this guide will walk you through every step. Keep reading, and by the end, you’ll have the confidence to connect your camper lights quickly and safely, making every trip smoother and stress-free.

Credit: www.temu.com
Choosing The Right Camper Lights
Connecting camper lights to your truck needs the right choices. Picking good lights makes your trips safer and easier.
This guide covers types of camper lights, matching power needs, and durability tips.
Types Of Camper Lights
There are many camper lights. You can choose from LED, incandescent, and halogen lights. Each type works best for different needs.
- LED Lights:Use less power and last long.
- Incandescent Lights:Give warm light but use more power.
- Halogen Lights:Bright but get hot quickly.
Matching Lights With Truck Power
Check your truck’s power output before choosing lights. Lights need the right voltage and wattage to work well.
| Light Type | Typical Voltage | Power Use (Watts) |
| LED | 12V | 5-20W |
| Incandescent | 12V | 20-55W |
| Halogen | 12V | 35-60W |
Waterproof And Durability Considerations
Camper lights face rain, dust, and bumps. Choose lights with strong cases and waterproof ratings.
- Look for IP ratings like IP65 or higher for water protection.
- Pick materials that resist rust and cracks.
- Check if lights have shock-absorbing features.
Gathering Required Tools And Materials
Connecting camper lights to your truck needs the right tools and materials. Using proper items helps make the job safe and easy.
This guide shows the tools, connectors, and safety gear you will need before starting the wiring process.
Essential Wiring Tools
Wiring tools help you cut, strip, and connect wires correctly. Using these tools avoids damage to wires and keeps connections strong.
- Wire stripper to remove insulation
- Crimping tool for connectors
- Wire cutter to trim wires
- Multimeter to test voltage and continuity
- Screwdrivers for terminal screws
Connectors And Fuses
Connectors join wires safely. Fuses protect the electrical system from shorts or overloads. Both keep your camper lights working well.
- Butt connectors for joining wires
- Ring terminals for secure bolt connections
- Inline fuse holders with correct fuse rating
- Heat shrink tubing for insulation
- Electrical tape for extra protection
Safety Gear
Safety gear protects you from injuries while working with electrical parts. Always wear the right gear to avoid accidents.
- Insulated gloves to prevent shocks
- Safety glasses to protect eyes from sparks
- Long sleeves to avoid skin contact
- Work boots for foot protection
- Fire extinguisher nearby in case of emergencies
Preparing The Truck For Installation
Before connecting camper lights to your truck, prepare the truck properly. Good preparation helps ensure a safe and lasting connection.
Check the truck’s electrical system and clean any parts that may cause problems. This makes the installation easier and more reliable.
Locating Power Source
Find a power source that can handle the camper lights. The truck battery or fuse box usually works well for this.
Use the truck manual to identify the correct power points. Choose a source with enough voltage and current for the lights.
- Locate the battery or fuse box
- Check voltage levels with a multimeter
- Pick a power source near the camper connection area
Inspecting Existing Wiring
Look over the truck’s wiring where you plan to connect the camper lights. Make sure wires are not broken or worn out.
Replace any damaged wires to avoid short circuits and poor connections. Safe wiring protects both the truck and camper.
- Check for cracks or frays in wires
- Look for loose or corroded connectors
- Test wiring with a voltage tester for faults
Cleaning Connection Points
Clean the metal parts where the wires connect. Dirt, rust, or grease can block electricity and cause problems.
Use a wire brush or sandpaper to remove buildup. Wipe the area with a clean cloth before connecting wires.
- Remove rust from terminals and connectors
- Clean dirt and grease with a cloth
- Ensure all surfaces are dry before connection
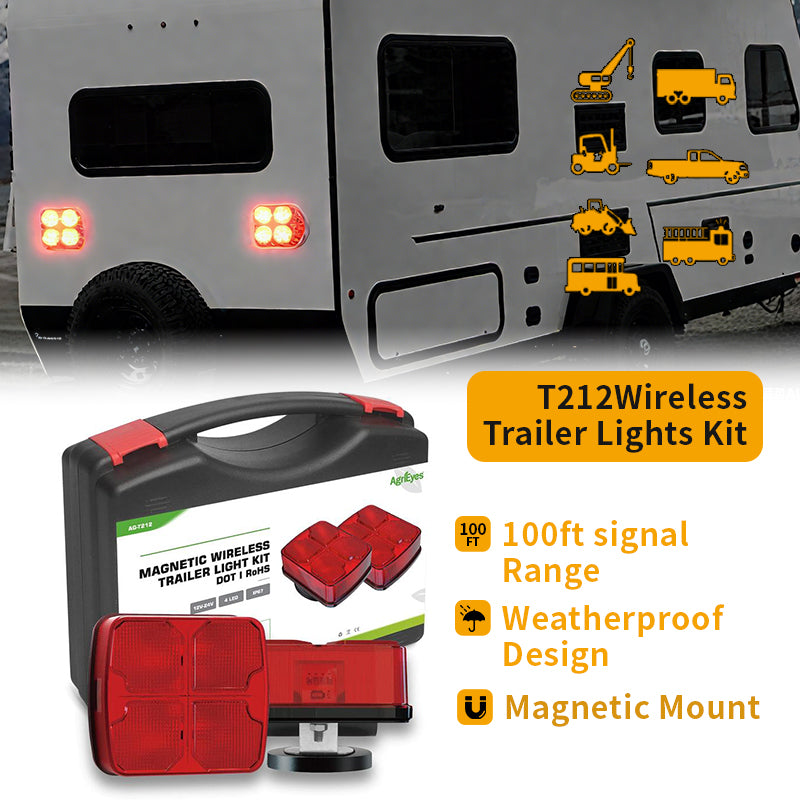
Credit: shop.agrieyes.com
Wiring The Camper Lights
Connecting camper lights to your truck needs careful wiring. Proper wiring ensures the lights work safely and well.
Follow simple steps to route wires, connect leads, and secure the wiring harness. This helps avoid problems on the road.
Routing The Wires
Plan the wire path from the truck to the camper lights. Avoid sharp edges and moving parts that can damage wires.
Use existing wire channels or run wires under the truck bed. Keep wires away from heat sources like the exhaust.
- Measure the distance before cutting wires
- Use wire loom for protection
- Secure wires with clips or ties along the route
Connecting Positive And Negative Leads
Identify the positive and negative wires on both the truck and camper lights. Connect the positive leads together and the negative leads together.
Use waterproof connectors to keep connections safe from rain and dirt. Double-check the polarity before making final connections.
- Positive wire is usually red or brown
- Negative wire is usually black or white
- Test connections with a multimeter
Securing The Wiring Harness
After connections, bundle the wires into a harness. Use zip ties or clamps to hold the wires tightly and prevent movement.
Make sure the harness is secure but not too tight. Allow some slack to avoid stress on the wires during driving.
- Use rubber grommets where wires pass through metal
- Avoid pinching wires in tight spaces
- Check the harness regularly for wear or damage
Testing The Light Connections
After connecting your camper lights to the truck, testing the lights is essential. This step ensures safety and proper function during travel.
Testing helps find problems early, so you can fix them before hitting the road.
Checking For Proper Function
Start by turning on the truck’s lights to see if the camper lights respond. Check all types of lights: brake, turn signals, and running lights.
- Check if each light on the camper turns on as expected.
- Look for any flickering or dim lights.
- Have a helper press the brake pedal and use the turn signals.
- Inspect the light lenses for cracks or dirt that may hide problems.
- Ensure the light colors match the legal requirements.
Troubleshooting Common Issues
If any light does not work, check the wire connections first. Loose or corroded wires cause most problems.
| Problem | Cause | Solution |
| Light does not turn on | Loose connection | Secure and clean the wire connection |
| Light flickers | Corroded contacts | Replace or clean contacts and connectors |
| Brake light stays on | Stuck switch or wiring error | Check brake switch and wiring for faults |
| Turn signals do not flash | Blown fuse or bad flasher | Replace the fuse or flasher relay |
Maintaining Camper Light Connections
Connecting camper lights to your truck is essential for safe travels. Regular maintenance ensures they work properly and last longer.
Following a few simple tips can help you keep these connections in top shape, preventing issues on the road.
Regular Inspection Tips
Checking your camper light connections regularly is key. Look for any signs of wear or damage to ensure they are functioning well.
- Inspect the wiring for frays or cuts.
- Test the lights to make sure they turn on.
- Verify that connectors are securely fastened.
Preventing Corrosion
Corrosion can cause light failures. Protect your connections from moisture and salt to keep them corrosion-free.
| Corrosion Prevention Tip | Action |
| Use dielectric grease | Apply to connectors |
| Seal connections | Use heat shrink tubing |
| Store indoors | When not in use |
Upgrading Lights Safely
Upgrading your camper lights can improve visibility. Ensure that you follow safety guidelines during the installation process.
Always disconnect the battery before starting work. This prevents electrical shocks.
- Choose lights compatible with your truck.
- Follow manufacturer instructions carefully.
- Test the new lights before hitting the road.

Credit: www.amazon.com
Frequently Asked Questions
How Do I Wire Camper Lights To My Truck Safely?
Use the truck’s 12V power source and connect it via a fuse and relay. Secure all connections with waterproof connectors to avoid shorts or corrosion.
What Tools Are Needed To Connect Camper Lights To Truck?
You’ll need wire strippers, crimping tools, electrical tape, connectors, and a multimeter to ensure proper voltage and secure connections.
Can I Use My Truck’s Battery For Camper Lights?
Yes, but use a fuse and relay to prevent battery drain. Consider adding a secondary battery for extended power supply.
How Do I Test Camper Lights After Installation?
Turn on your truck’s power and check each light for brightness. Use a multimeter to verify voltage at the connections.
Conclusion
Connecting camper lights to your truck is simple with the right steps. Always check your wiring for safety and proper fit. Use the correct connectors to avoid loose connections. Test the lights before driving to ensure they work well. Keep tools handy for quick fixes on the road.
This helps you travel safely and enjoy your camping trips. Following these tips saves time and prevents problems. Stay prepared and enjoy your adventures with well-lit camper lights.