
If you want to improve your riding comfort and control, installing new motorcycle grips is a simple upgrade you can do yourself. But how do you make sure the grips fit perfectly and stay secure while you ride?
In this guide, you’ll learn step-by-step how to install motorcycle grips quickly and easily. Whether you’re a beginner or just need a refresher, these tips will help you get a smooth, safe grip on your bike—and on the road. Keep reading to transform your ride with grips that feel just right for you.
Choosing The Right Grips
Choosing the right motorcycle grips can improve your comfort and control. The grips must fit your hands and riding style well.
This guide helps you understand different types of grips, materials, and size options. Pick grips that suit your needs before installation.
Types Of Motorcycle Grips
Motorcycle grips come in various styles. Each type offers a different feel and function for your hands.
- Standard grips: Basic design, good for daily riding.
- Heated grips: Keep hands warm in cold weather.
- Gel grips: Provide extra cushioning and reduce vibrations.
- Lock-on grips: Easy to install and stay firmly in place.
Materials And Comfort
The material affects comfort and grip feel. Choose a material that matches your riding needs and weather conditions.
| Material | Comfort Level | Durability | Best For |
| Rubber | High | Medium | Everyday riding |
| Foam | Very High | Low | Long rides, vibration control |
| Leather | Medium | High | Classic style, dry weather |
| Silicone | High | High | Wet conditions, grip strength |
Grip Size And Compatibility
Grip size affects hand comfort and control. Check your motorcycle’s handlebar size before buying grips.
- Measure the handlebar diameter to find the right grip size.
- Check if the grips fit your throttle and brake controls.
- Test grip thickness to ensure a comfortable hold.
- Look for grips designed for your motorcycle model.
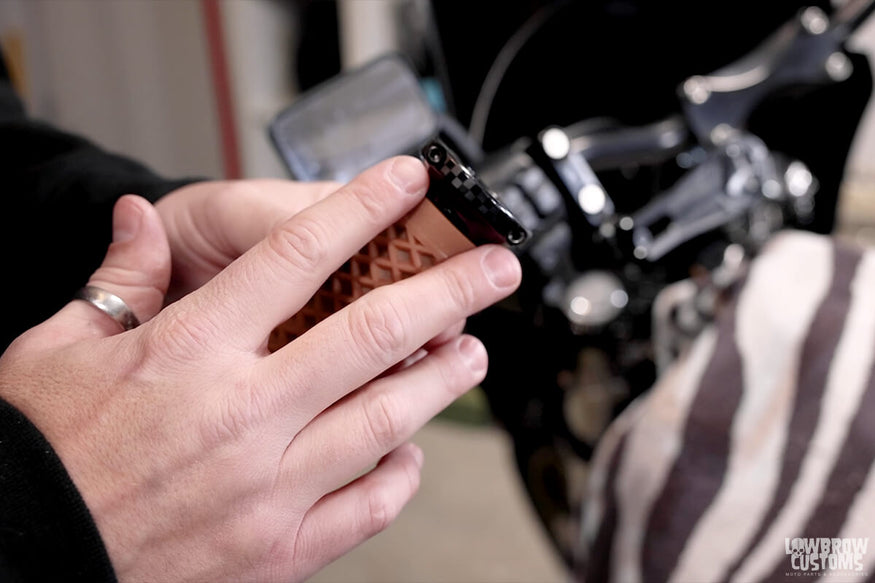
Credit: www.lowbrowcustoms.com
Tools And Materials Needed
Installing new motorcycle grips requires specific tools and materials. Having everything ready makes the job easier.
Using the right supplies helps the grips fit well and stay secure while riding.
Essential Tools
You need some basic tools to remove old grips and install new ones. These tools make the process smooth and safe.
- Screwdrivers (flathead and Phillips)
- Utility knife or razor blade
- Compressed air source (optional)
- Rags or cloths for cleaning
- Allen wrenches (if your motorcycle uses them)
Grip Adhesives And Lubricants
Using the right adhesive or lubricant helps grips slide on easily and hold tight after drying.
Choose materials that do not damage rubber and dry quickly to secure the grip.
- Grip glue or adhesive designed for rubber
- Isopropyl alcohol for cleaning handlebar
- Water or soapy water as a lubricant for sliding grips on
- WD-40 or similar lubricants (only if specified by grip manufacturer)
Safety Gear
Wear safety gear to protect yourself during the installation. Handling sharp tools and chemicals requires care.
Safety gear also helps prevent injuries from slipping tools or accidental cuts.
- Protective gloves to avoid cuts and skin contact
- Safety glasses to guard your eyes
- Long sleeves to protect your arms
- Well-ventilated workspace to avoid inhaling fumes
Removing Old Grips
Removing old motorcycle grips is the first step in installing new ones. It helps to prepare the handlebars for a secure fit.
Take your time to remove the grips carefully. This prevents damage to the handlebar and makes the new grips last longer.
Loosening The Existing Grips
Start by loosening the old grips to make removal easier. You can use a few simple tools for this task.
Spray some rubbing alcohol or soapy water under the grip. This helps reduce friction and slides the grip off smoothly.
- Use a flathead screwdriver to gently lift the edge of the grip.
- Spray a small amount of rubbing alcohol under the grip.
- Twist and pull the grip while pushing it off the handlebar.
- If stuck, use compressed air to blow between grip and handlebar.
Cleaning The Handlebar Surface
After removing the grips, clean the handlebar surface well. This ensures the new grips stick properly and last longer.
Remove dirt, old glue, and oil using a cloth and rubbing alcohol. Make sure the handlebar is dry before fitting new grips.
- Wipe the handlebar with a clean cloth.
- Apply rubbing alcohol to remove residues.
- Use fine sandpaper if the surface is rough or sticky.
- Let the handlebar dry completely before installing new grips.
Credit: www.lowbrowcustoms.com
Preparing New Grips
Installing new motorcycle grips starts with proper preparation. This step ensures the grips fit well and stay in place.
Taking time to check the fit and apply adhesive correctly will help you avoid grip slippage and improve your ride comfort.
Checking Fit And Orientation
Make sure the grips match the handlebar size exactly. A poor fit can cause safety issues.
- Slide the new grip onto the handlebar without force.
- Check if the grip covers the throttle tube fully.
- Ensure the grip’s pattern faces the right direction for control.
- Test grip placement for comfort and reach.
Applying Adhesive Or Lubricant
Use adhesive or lubricant to slide the grip on easily and secure it. Choose the correct product for your grip type.
| Product | When to Use | Notes |
| Grip Adhesive | For permanent fit | Dries fast and holds grips tightly |
| Hair Spray | Temporary fit | Acts as lubricant and adhesive |
| Soapy Water | Temporary fit | Allows adjustment before drying |
| Isopropyl Alcohol | Temporary fit | Evaporates quickly, no residue |
Installing New Grips
Installing new motorcycle grips improves comfort and control. It is a simple task you can do yourself.
Make sure you have the right grips and tools before you start. Follow the steps carefully for a good fit.
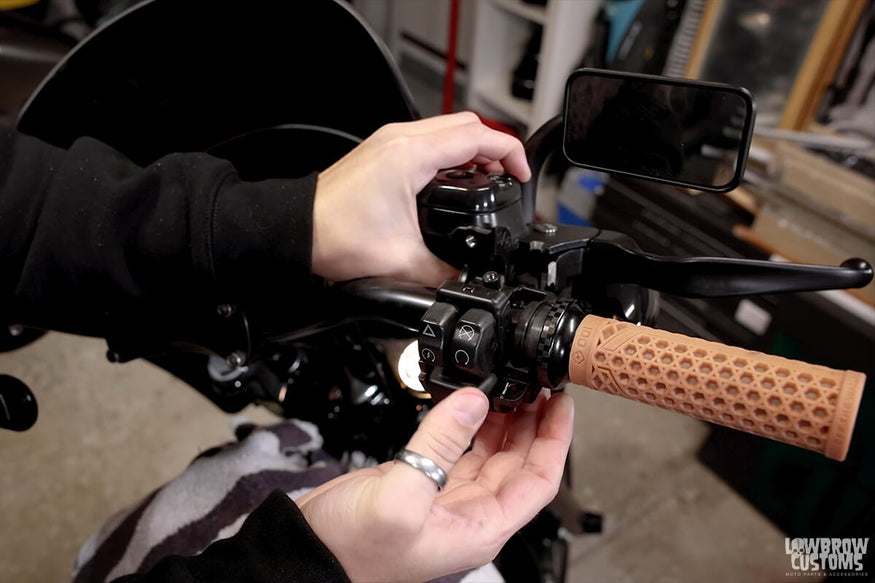
Aligning And Sliding Grips On
First, clean the handlebar to remove dirt and old glue. This helps the new grip slide on easily.
Apply a small amount of grip glue or soapy water inside the grip. This makes sliding the grip on smoother.
- Hold the grip near the opening.
- Push the grip onto the handlebar firmly.
- Twist slightly if needed to slide it fully on.
- Align the grip so the pattern matches your hand position.
Ensuring A Secure Fit
After sliding the grip on, let any glue dry completely. This keeps the grip from moving while riding.
Check that the grip does not twist or slide. If it feels loose, remove and reapply glue or use grip tape.
- Tighten throttle tube if needed for right-side grip.
- Use grip glue for a strong bond.
- Let the bike sit for at least an hour before riding.
- Test grips by twisting and pulling gently.

Credit: www.lowbrowcustoms.com
Final Adjustments And Checks
Now that you have installed your new motorcycle grips, it’s essential to make the final adjustments and checks to ensure a secure and comfortable ride.
Testing Grip Stability
Test the grip stability by gently squeezing the grips and checking if they feel secure and stable. Make sure they are not too loose or too tight.
- Check if the grips are properly seated on the handlebars.
- Verify that the grips are not twisted or misaligned.
- Test the grip stability in different riding positions (e.g., sitting, standing, leaning).
Adjusting Throttle And Controls
Adjust the throttle and controls to ensure they are properly aligned and accessible. Make sure they are not too close or too far from your natural riding position.
| Control | Adjustment |
| Throttle | Position it at a comfortable height and angle. |
| Brake Lever | Position it at a comfortable height and angle. |
| Clutch Lever | Position it at a comfortable height and angle. |
Double-check that all controls are properly secured and not loose. Make sure the grips are not interfering with the controls or vice versa.
Maintenance Tips For Longevity
Keeping your motorcycle grips clean and in good shape helps them last longer. Proper care improves your comfort and control while riding.
Simple maintenance steps can prevent damage and wear. Learn how to clean and know when to replace your grips.
Cleaning And Care
Regular cleaning removes dirt and sweat that can break down grip material. Use mild soap and water with a soft cloth to wipe grips.
- Do not use harsh chemicals or solvents.
- Dry grips fully after cleaning to avoid slipping.
- Check grips for stickiness or hard spots.
- Keep grips away from direct sunlight when parked.
When To Replace Grips
Replacing grips at the right time keeps your ride safe and comfortable. Look for signs of wear or damage.
| Sign | Description | Action |
| Cracks or tears | Grip surface breaks or peels | Replace immediately |
| Hard or slippery spots | Grip loses softness or traction | Replace soon |
| Loose fitting | Grip rotates or moves on handlebar | Replace or re-install securely |
| Faded color | Grip looks worn or aged | Consider replacement |
Frequently Asked Questions
How Do I Remove Old Motorcycle Grips Safely?
To remove old grips, use a utility knife carefully to cut them lengthwise. Avoid damaging the handlebar. Apply rubbing alcohol to loosen adhesive. Twist and pull off the grips gently for a clean removal.
What Tools Are Needed To Install Motorcycle Grips?
You only need basic tools like a utility knife, rubbing alcohol, and compressed air or grip glue. These tools help remove old grips and secure new ones properly.
Can I Install Motorcycle Grips Without Glue?
Yes, some grips fit tightly and don’t require glue. Using compressed air can help slide grips on. However, glue ensures grips stay firmly in place during rides.
How Long Does It Take To Install Motorcycle Grips?
Installing grips typically takes 15 to 30 minutes. This depends on grip type and removal difficulty. Taking time ensures a secure and comfortable fit.
Conclusion
Installing motorcycle grips is simpler than it seems. Take your time and follow each step carefully. Clean the handlebar before placing the new grips. Use grip glue or hairspray for a firm hold. Check both grips for comfort and secure fit.
Tighten any screws or ends if needed. Enjoy better control and a safer ride. Practice riding to get used to the new grips. Small effort brings big improvement to your motorcycle. Keep your grips clean and replace them when worn out.
A smooth ride starts with the right grips.